
Hello Everyone,
Today im going to show you how to create a blog easily in 10mins.
Why create a blog?
If you want, you also express your opinions, or just relate to the day to day events that mark your life, then it's time to create your first blog.
Create a blog on Blogger
Blogger is owned by Google. This platform allows you to create a free blog and offering a variety of tools to animate thats why i will show u first how to create google account
Blogger has the advantage of being a free blog without ads.
How Create a Google Account
To create a Google account, go to the page or http://www.google.com/accounts/NewAccount or http://www.google.com/calendar, then click "Create an account now." Once the registration process is complete, you will receive a verification message. Click on the link in the message to complete the account creation process. Consider the following when creating your account: - The username of your Google Account username should be an email address that you check regularly. - The password must contain at least eight characters and should not be drawn from the current vocabulary. - Select a unique combination of numbers and letters for the password. - Checking In words, type the wavy characters exactly as they appear in the image.

How to Create a Blog on Blogger
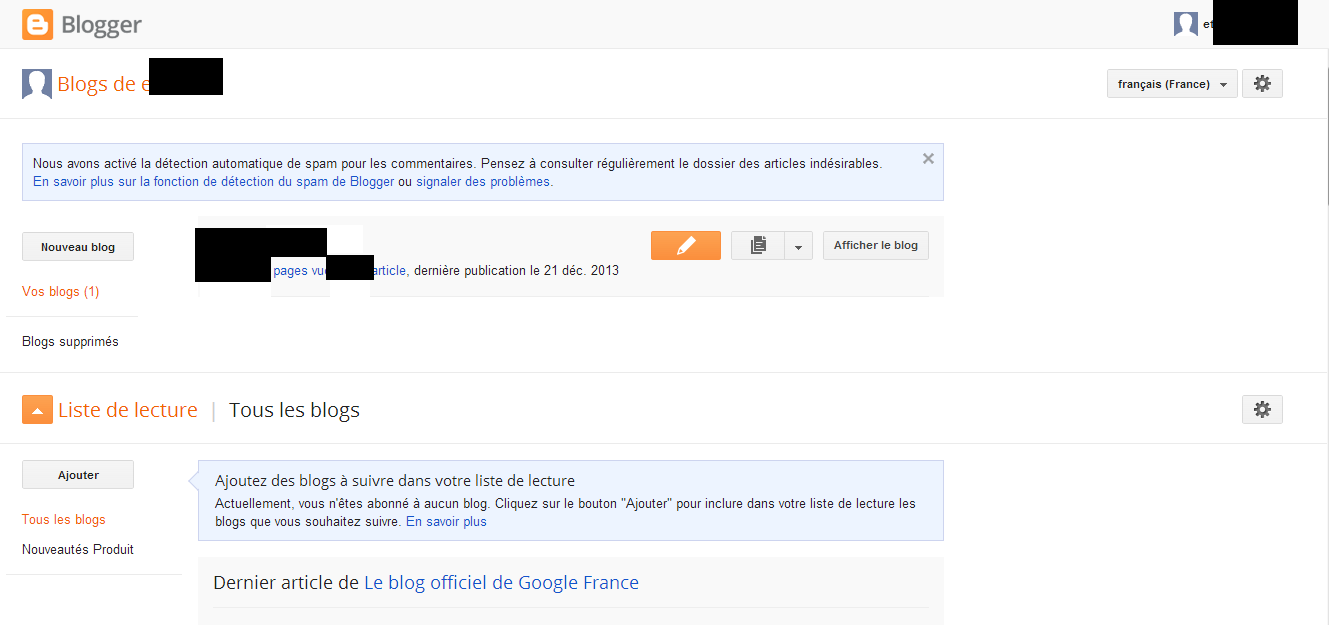
Click the "plus" link on the Google home page . In the " More Google Products " that appears, click the "Blogger" link under " Communicate , publish and share ." A faster method is to type www.blogger.com in the address bar of the web browser. A new window will open soon :
The establishment of the blog is extremely fast, since it requires only three steps. Click the orange arrow " Create Your Blog ." In the window that opens, it is first offered to create a Google account. If you already have one , simply click on the link " log on first."
It is only now that starts from the actual creation of the blog. The first step is to enter a pen name (which will be used to sign messages ) and accept the terms of use. Click "Continue" to move to the second phase. You must now choose a title for the blog. Take your time because you can not go back. Then set the address of the blog , make sure it is free by clicking on the link 'Check '. If the URL is already taken , alternative names are proposed . Click "continue" .
Last but not least : You do not have to host your blog on Blogspot server. If you prefer to use another provider, click the "Advanced Setup Blog " link and complete the form by helping you technical information you were given by your service provider.
Finally, you must choose a model from 12 to customize the appearance of your blog. If you have trouble deciding , select a default . You can change it later . To give you an accurate picture of a model, click on the " preview model " link to view full size . Click on the desired template and click the " continue " link.
No comments:
Post a Comment